
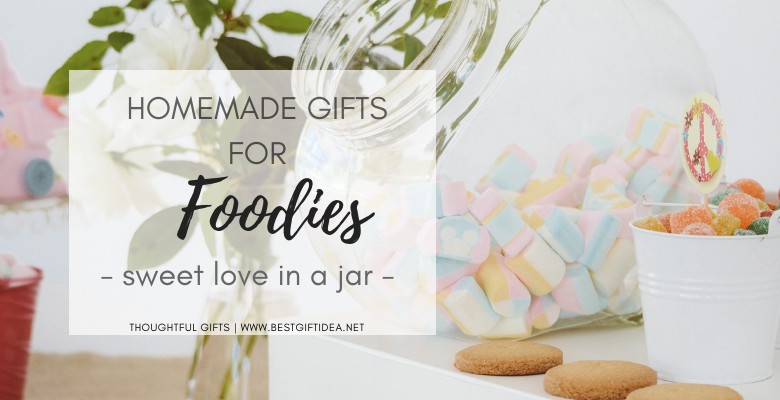
Homemade Jar Gifts for Foodies – Sweet Love in a Jar
I love making jar gifts for my friends and relatives. Charming, always in use and pretty edible to fit in my philosophy for thoughtful gift-giving. Especially at Christmas.
I remember the first Christmas as a mom. My daughter was almost 4 months old and I was exhausted to death. But still enthusiastic about all the Christmas preparations & fuss about gifts.
That year 2013 (and all the next coming years) I’ve decided to change the direction and rely mostly on homemade DIY gifts as I did not have enough time, power and money to shop on the Internet (or the local shops).
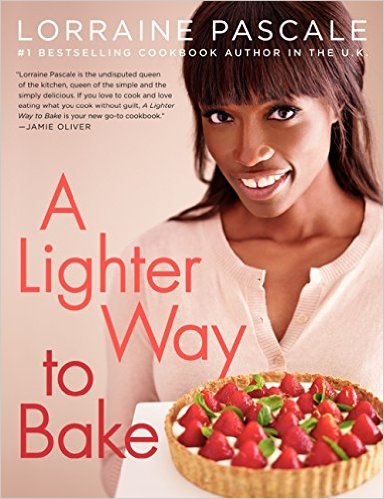
My inspiration – see her books HERE
The first time I saw this great gift idea was on the 24 Kitchen Channel and the magical Lorraine Pascale cooking show Baking Made Easy. And I got inspired forever after…
This year, I’m making many of the holiday gifts that I’ll be giving as well. One of my favorite things to give is this homemade layered jar gifts full of….love & sweetness!
Why loving gifts of food in jars?
Via Linda from Call Me Cupcake
These layered jar gifts are some of my all-time favorite presents since I saw them.
The reason?
They’re quick, beautiful, handmade, low-cost, it’s fun to put together, and even more of a delight to cook or bake!
If you have kids, the whole preparation could be fun for all of them, helping you with layers, cutting tags or simply messing around. In addition to being not-costly to create, even the clumsiest cook can put together these gifts without too much of a trouble (I guess!).
If the recipient knows the basics of measuring ingredients and turning on the oven, they’re pretty much good to go.
However, the good thing in DIY gifts is that you can always add something needed. Just like some measuring cups and cookie shapes. (well, it might be a good idea to also include your phone number, just in case they get stuck and need some help).
Oh, and the most important thing for me – it’s quite a thoughtful gift (as the recipes and the additional items could be edible) and a great way to spread your love! And that’s the point of gift-giving after all!
Who will love sweet jar gifts?
I know people that consider baking as a sort of an esoteric science that seems unattainable for their skills. And they never ever dare to fight with the exact measurements in the art bakery!
Sounds familiar?
This wonderful gift idea takes all the stress out of it, as well as providing a more wholesome alternative to traditional baked goods. I’m truly impressed and I am telling you from my personal experience – your recipient will be impressed too!
It’s a great Christmas (and not only) gift idea for:
- foodie
- a friend who’s always been afraid of cooking
- teacher
- neighbor
- kid (let’s say over 9)
- just a friend
How to Layer Sweet Mixes in a Jar?
It’s easy as 1-2-3! (although I am giving you much more steps due to my wish to explain everything veeeery detailed)
- First: Pick up a recipe. Divide all the ingredients into 2 groups – dry & wet.
- Second: Buy lidded wide mouth jars in assorted sizes.
(additional info: you will need one for the dry ingredients. If you wish to full the pack, buy another jar, smaller one, or a small charming lunch box, for the wet ingredients.)
- Third: Buy the ingredients as per your recipe. Get ready.
(Depending on your choice what ingredients you will include in the gift jar – only the dry ingredients or both dry & wet)
- Fourth: Clean the jars thoroughly and let them dry (as long as it takes- it’s important).
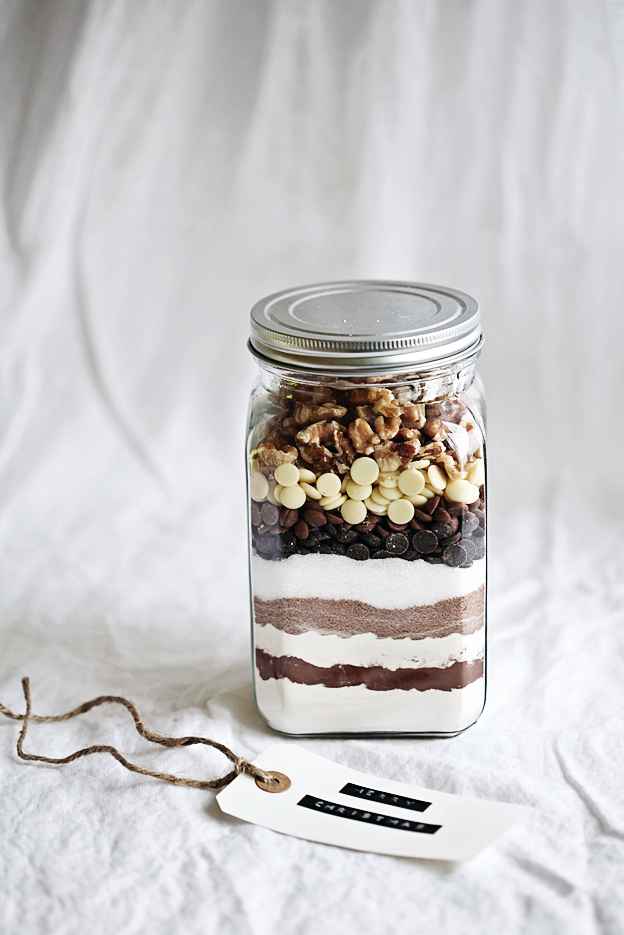
- Fifth: Layer the ingredients in the jar as listed in the chosen recipe separately.
There are no rules when it comes to layering your mix-ins, but your gift will have better eye-appeal if you mind the colors or textures of the layers. Try to alternate light and dark colors. For example, I usually start with flour, then layer some amount of brown sugar, then white sugar powder, then cocoa powder, then flour again, etc. (depending on the exact recipe mix-ins)
- Sixth: Make sure to press firmly with a flat bottomed object after each layer addition; make the layers as level as possible, up to the upper edge.
- Seventh: Secure the lid – screw or clamp it tightly.
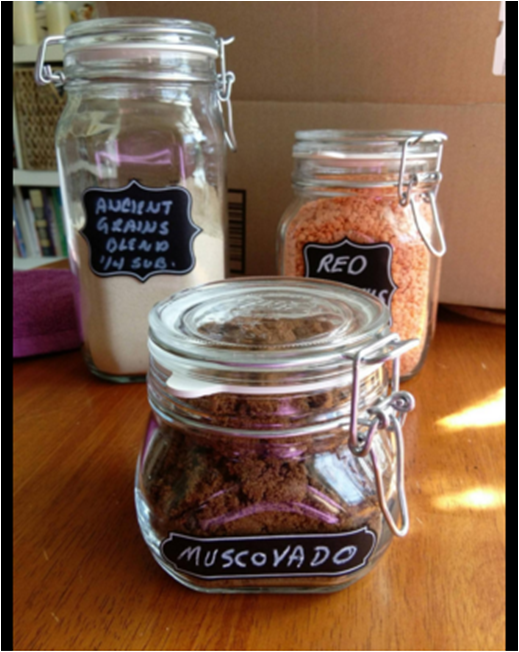
- Eighth: Write down instructions using pre-made template tags or craft your own.
- Ninth: Decorate as desired – now it’s time to decorate your gift-mix with the instruction tags and trimmings!
As seen on Betty Crocker
What you need:
# 1 Jars
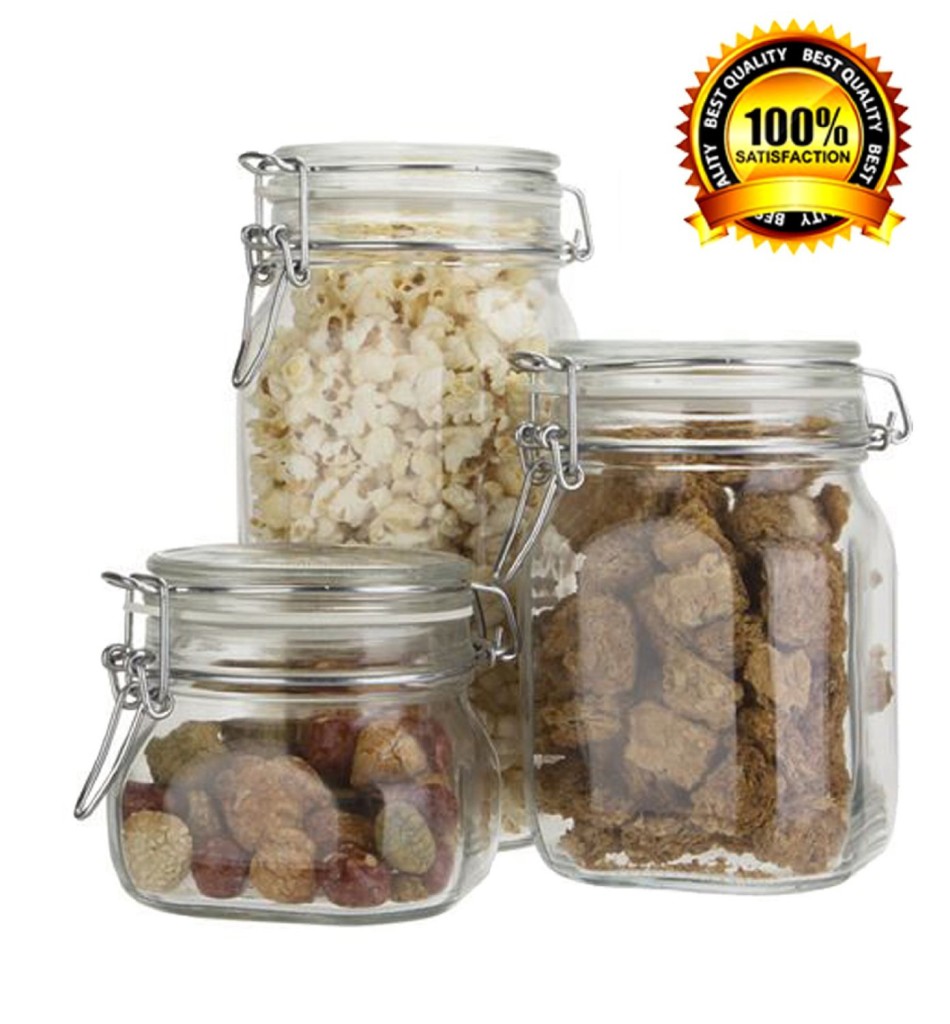
My favorite vintage jars – look great for gifts in jars – CLICK to check the DISCOUNT
To ensure enough space for mix-in goodness, I stick to 0.75- 1-liter wide mouth jars. There are many types of jars, but I personally prefer the Italian Bormioli Rocco Fido glass jars. They are truly reputable! And I think that every household should have a few of them. They are great for organizing (not only in the kitchen), so after all, the gift jar will “live” 2 lives – first, as a gift box for pleasuring the eye and second, as a storage item.
I love the vintage style of the Italian glass jars, with their square shape (which is saving some space in comparison with the round shapes) and charming lid design. Everything that I keep in them (coffee, sugar, my daughter’s biscuits, pasta, spices…) stays fresh and dry. It’s because of the airtight seal, made of rubber (which makes the jars suitable to canning too).
By Tracy Rowan at Amazon – special discount NOW
As I say, it’s good for the jar to have a wide mouth, so that you can easily settle the layers, reaching even the bottom. Having a wide mouth makes things easier for you and your gift recipient.
Remember that you must prepare (I mean WASH) the jar first before putting whatever in it?
One more thing – they are so pretty that you’ll want to display them outside instead of keeping them inside.
Another great option is the Mason Jar Set.
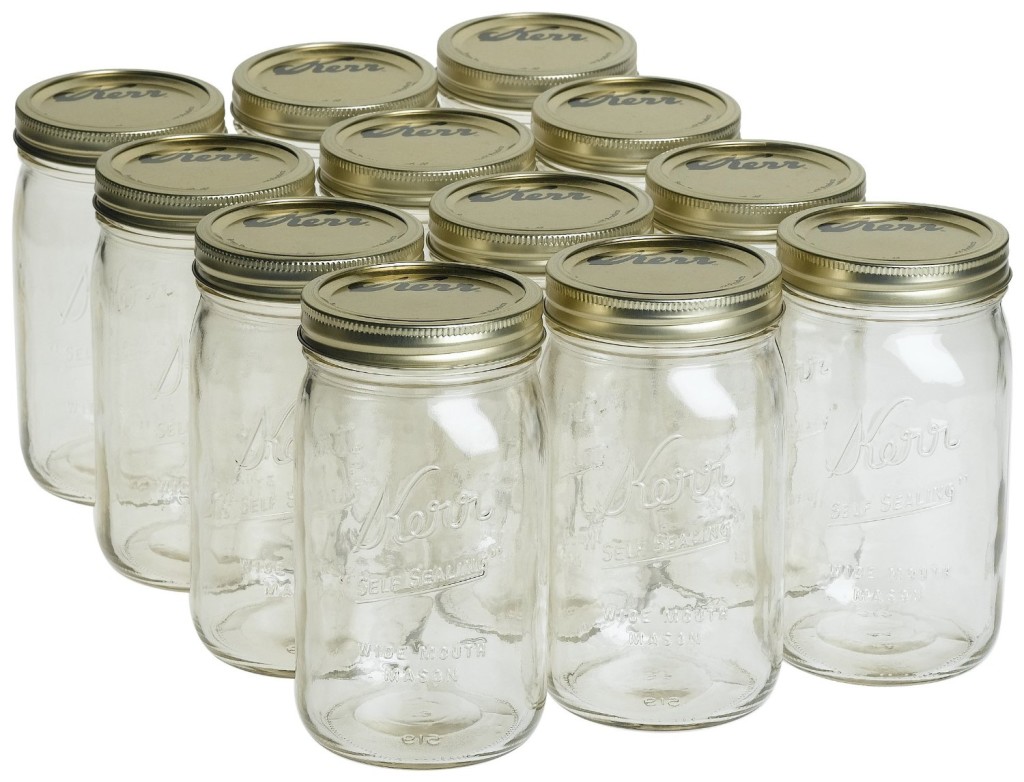
Classic Mason Jars – CLICK to check the DISCOUNT
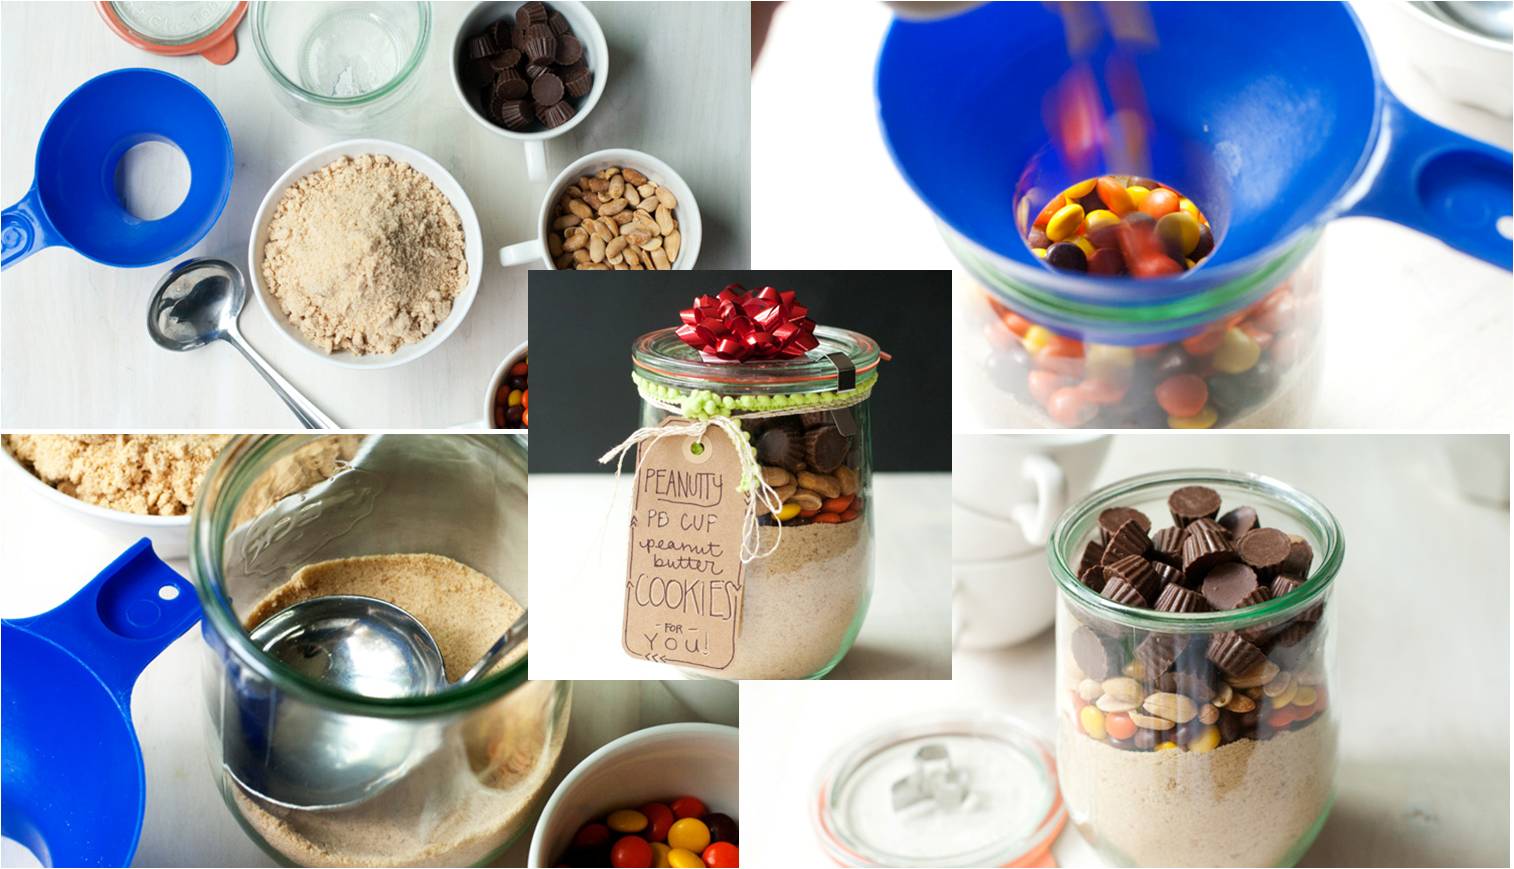
To tamp down the ingredients (in order to form beautiful layers and manage to fit everything in the jar, I use the bottom of a flat ladle (you could use whatever flat item which can enter the mouth of the jar). Packing the mix and all the extra goodies into the jars neatly ensure visible layers, minimal shifting, and lots of unusual appeals.
# 2 Recipes
If you have some favorite recipes for brownies, muffins, sweet bread, fudge, and cookies (of course, Christmas cookies!) of your own, feel free to create your own variations.
But if you’re stuck in a pre-Christmas brain coma or have no idea what a jar gift looks like and how to start, just check one of these 12 recipe ideas listed in this post that you can try out. They are proved and awesome for a culinary skilled person as well as for a bakery novice.
# 3. Ingredients
As per the desired recipe. Did you check these Mason Jar gift ideas for sweet aficionados?
# 4. Decoration
Ribbons, twine, stickers, tags, and other decorative supplies – all up to your taste for the final touch of your jar gifts.
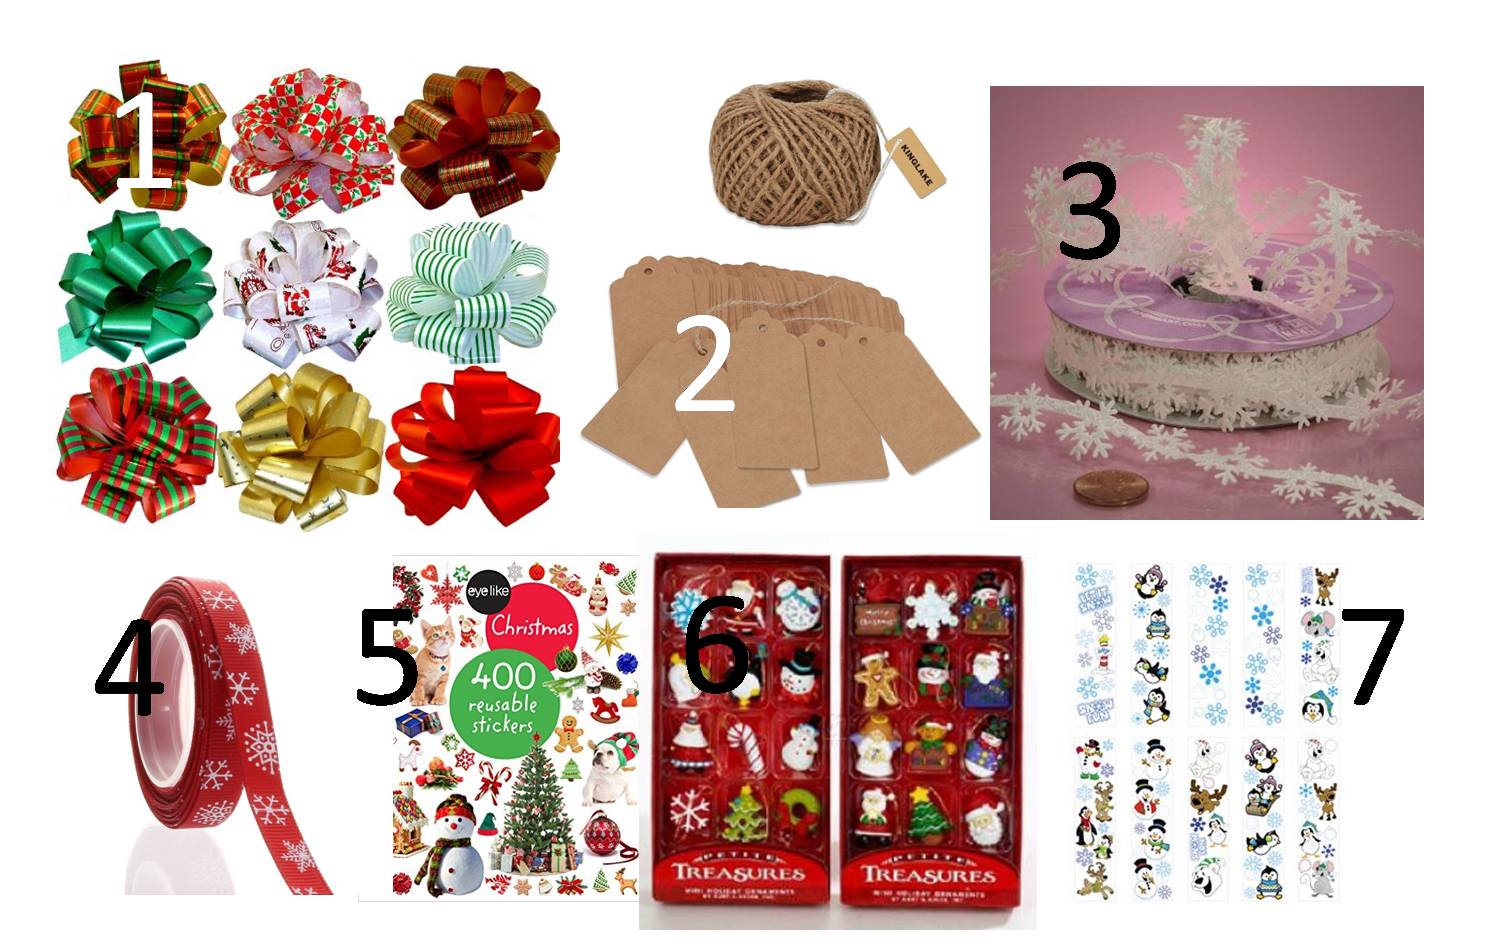
Gift Jars Decoration – CLICK on the links
1. Christmas Pull Bows
2. Paper Gift Tags
3. White Snowflake Ribbon
4. Grosgrain Ribbon
5. Christmas Stickers Paperback
6. Miniature Ornaments
7. Stickers
Additional:
# 5 Wide funnel (or a sheet of paper)
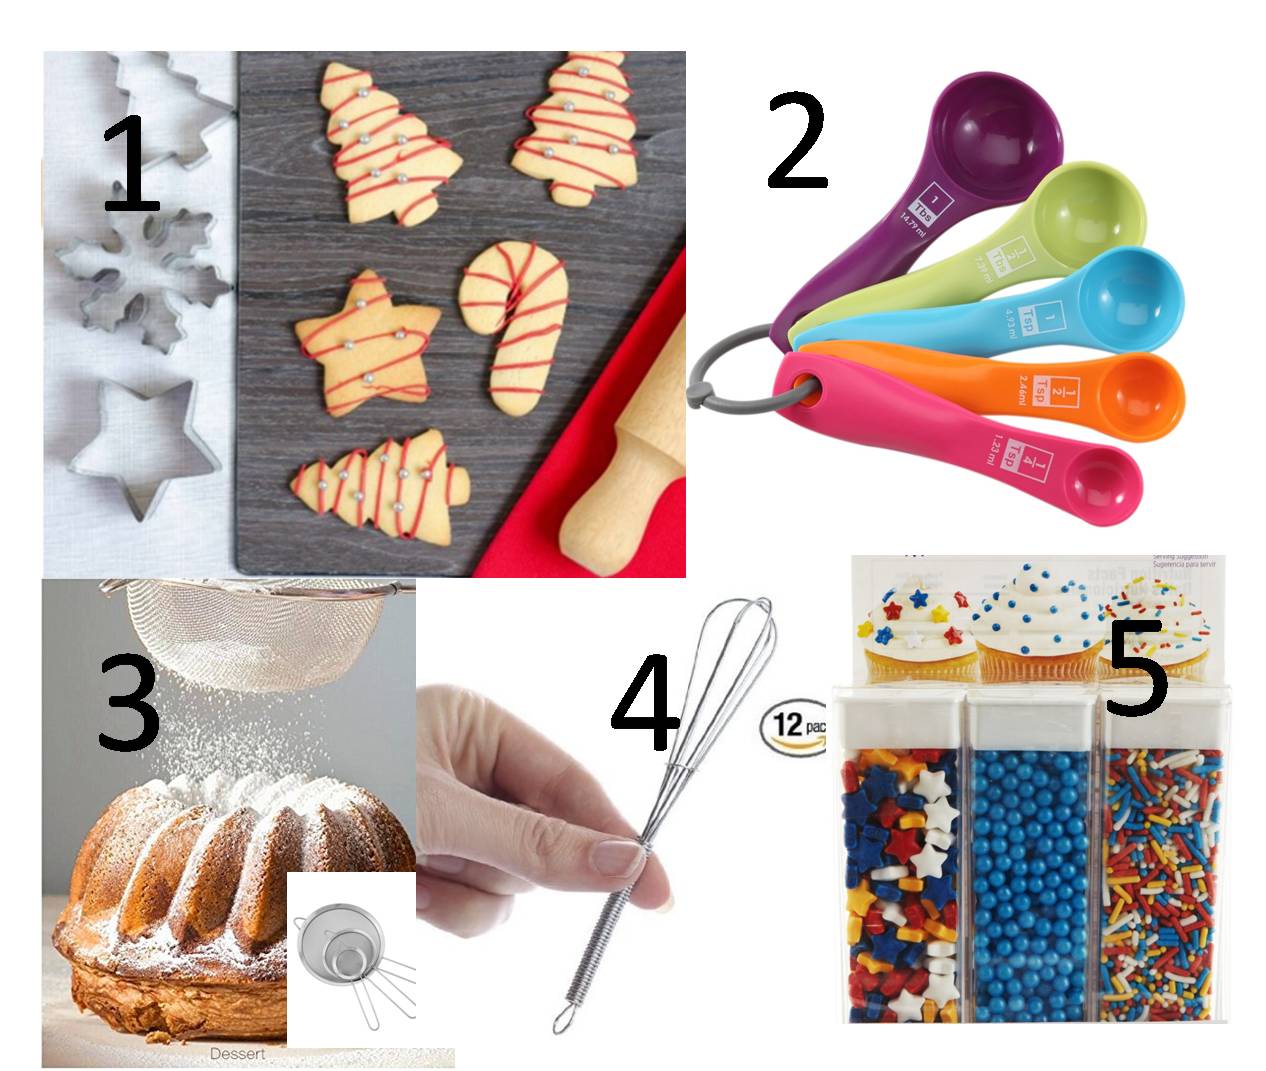
#6 Extra goods – cookies shapes, stir, measuring cups or spoons, cooking gloves, bakery decoration
Click on the links to check each one
1. Set of Christmas Cookie Shapes
2. Measuring Spoons
3. Sieve
4. Mini Wire Whisk
5. Sprinkles
Final (and very important) tips:
- If you don’t have a funnel, a rolled-up piece of paper makes a great job
- Top off with “extra” ingredients like nuts or chocolate, or small bakery items.
- If you can provide, add a small picture of the desired result next to the instructions (it’s motivational for the receiver to know the final result)
- A single ribbon on top of a jar is the simplest and yet most delicate way to make your gift look prettier
- If you’re feeling crafty, use some of these supplies: Craft-paper tags, Chalkboard labels, Metallic pens and markers,3-D holiday stickers, Mini Christmas trees, Glitter tape, Black felt pens, Washi tape, Ribbon and twine, Pom-pom trim, Gift bows
- For the deluxe gift, attach to your jar items, related to a bakery – a new spatula, different sizes cookie shapes, measuring spoons, a miniature bottle of maple syrup, oven mitts, cook apron, etc.
- If you put extra items in the jar, make sure they are clean and better – wrap them in plastic folio.
Recap
- Be sure to wash and dry the jars before you use them.
- Pack down each layer tightly (especially the flour and cocoa powder) so that no space is left for the separate ingredients to mix when still inside the jar
- Be sure that you included directions to make the recipes.
Each year, I am getting better with the gift jars preparations. In fact, I really enjoy. I think it took less than 10 minutes (to measure everything, layer the mix-ins and tap the lid) per jar to package, another minute to add the pre-printed label and tie a bow. The longest step of this project will be typing or hand-writing the recipes out on cards, tag, etc.
If you’re looking for something special to give friends and family this holiday season without breaking the bank, these DIY layered jar gifts should do the simple magic. From Christmas cookies and muffin mixes, to hot chocolates and delightful brownies, there’s something sweet and heart-melting here for everyone.